
In this short tutorial for Photoshop beginners (or anyone who’s a bit rusty using it), I’ll show you how to use Panels and set up your own custom workspace.
We use panels all the time as they provide extra functionality. They are an important part of the Photoshop workspace and they can be moved around, resized, collapsed to icons and hidden.
Panels and Menus
At the time I am writing this, there are over 30 different Panels in Photoshop. These range from Color and Swatches panels to Layers and Character panels. Each panel has its own unique function that helps up create and modify images.
As you can imagine, 30 panels would take up a lot of space in your workspace, so luckily we can customize their size and location and can hide and reveal them as needed. When you’re happy with your panel layout, you can save the setup as a workspace.
Click Here To Download A Free Photoshop 7 Day Trial
Let’s get started with working with panels. Make sure you have an image open in Photoshop as you follow along.
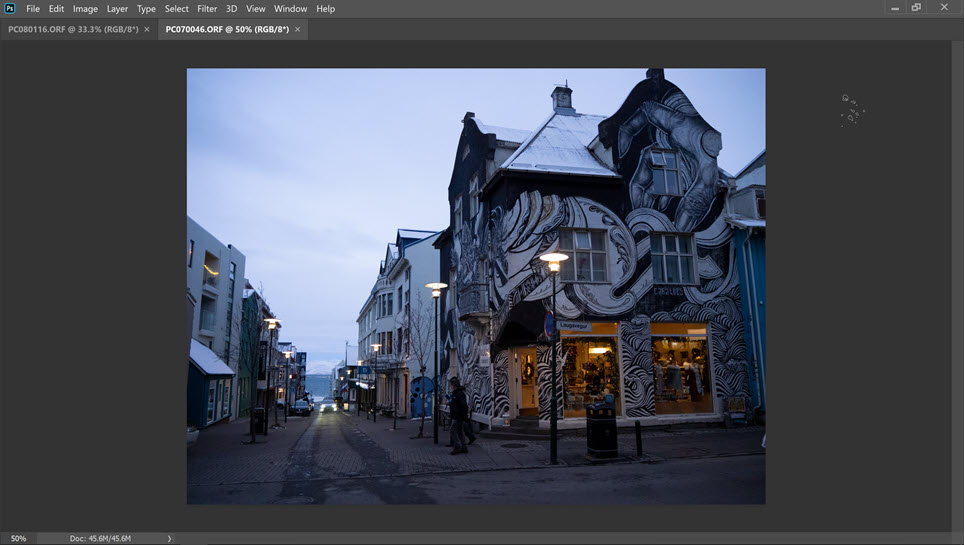
Hide All The Panels In One Go
To get a better view of your image, you can hide all open panels in one go by pressing the Tab key. To see them again, press Tab again. When you hit the Tab key, the Tool Options bar at the top of the screen and the Tools and all the open panels are hidden. This gives you an uncluttered view of your image.
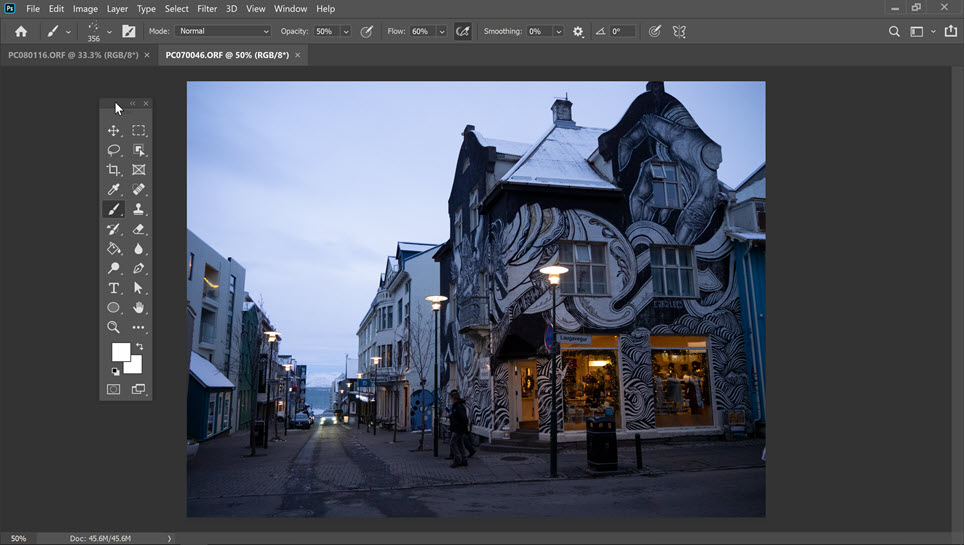
Press Shift + Tab to hide all the panels except the Tool Options bar and Toolbar.
How To Rearrange Panels
By default, Panels sit on the right-hand side of the Photoshop workspace, but we can rearrange their location and their groupings to our own liking.
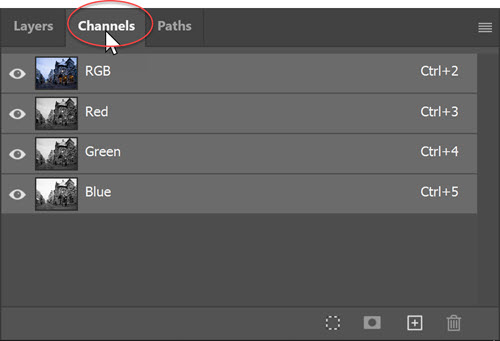
Make A Panel Appear At The Front Of A Group
Panels are grouped together, for example, Layers, Channels and Paths are a default group. To make a panel appear at the front of its group, click on that panels name tab.
Move A Panel Out of a Group
To move a panel out of its group, click on the Panel Tab name, for example, Layers, and drag the tab away from the group.

An outline of the Layers panel will appear as you drag. Drop the panel wherever you want on the screen

The Layers panel is now floating by itself, no longer part of its former group of panels.
Move A Panel from One Group to Another
To drag a panel from one group to another group, click on the panel Tab and drag it to that group. As you drag the panel over the group, a blue line will appear around the group. This indicates that the panel you are dragging will become a part of that group.
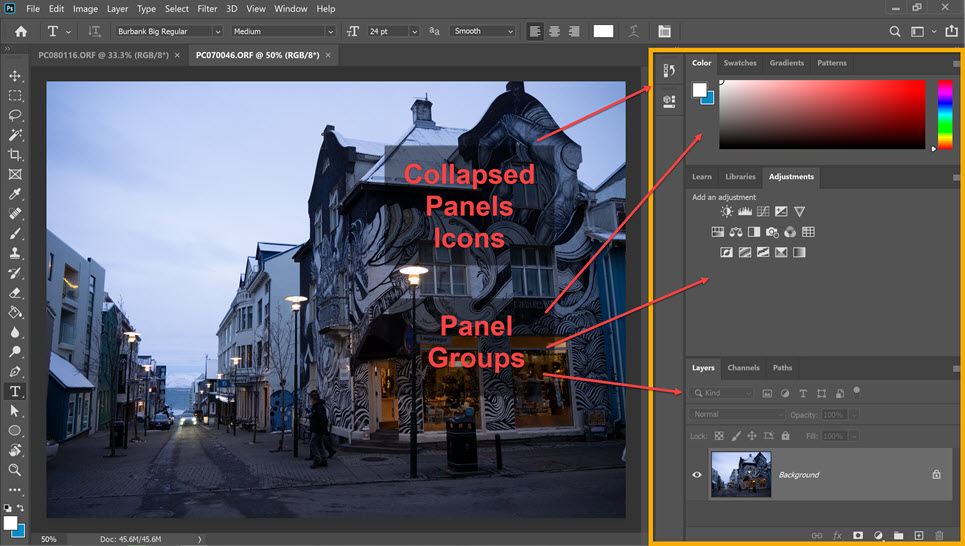
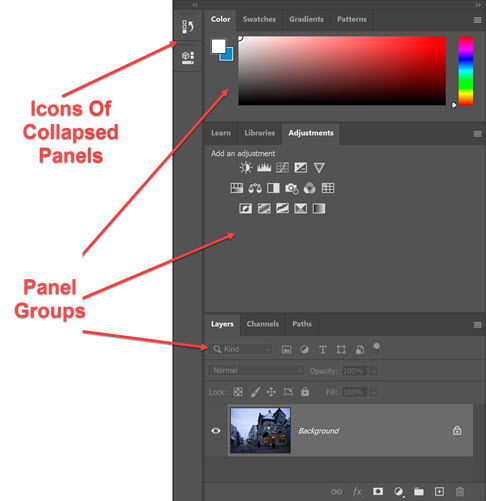
Collapse A Panel or Group Of Panels
To keep a panel or a group of panels on the interface but reduce the amount of space it takes up, we can collapse them to an icon or group of icons. Click on the double arrow at the top of the panel or panel group to minimise.

To expand the group again, click on the double arrow and it will expand back to normal size. To expand a single panel, simply click on the icon or the double arrow.
Resize A Panel Or Panel Group
To resize a Photoshop Panel or Panel Group, move your cursor over the right edge, or bottom edge, or corner. The cursor changes to a double arrow and you can click and drag the edge to resize.
Panel Menus
Most Photoshop panels contain a context-sensitive menu. You open the menu by clicking on the three lines in the upper right corner.
In the example below, you can see all the menu options which are available when working with the Character panel. If you clicked on the Paragraph panel tab to make it active, and then clicked on the menu, you would get a completely different set of menu options.

Where To Find All Panels In Photoshop
If you are looking for a panel and can’t currently see it on your screen, click on the Window menu and then choose the panel you are looking for from the list. The complete list of panels appears on the Window menu. A correct mark indicates that panel is currently open or visible on the interface.

Close a Panel
Click on the X in the upper right corner of the panel.
Try It Out Yourself:
Spend a few minutes playing around with the panels. Rearrange the groups so that you have some panels floating by themselves, and other groups with 4 or 5 different panels in each group.
Try opening some panels from the Window menu and try closing some panels that are currently open. It’s ok to make a mess of your workspace!
How To Save Your Customised Workspace In Photoshop
After you’ve rearranged and set up your workspace just the way you want it, you can save this configuration as a new workspace.
Choose Window > Workspace > New Workspace.
- Type a name for your workspace.
- As well as saving your panel setup, you can choose additional options under Capture. You can save Keyboard shortcuts, Menus and the Toolbar location.

Photoshop offers several preset workspaces which modify which panels are visible. Presets include Essentials – which is the default workspace, 3D, Graphic & Web, Motion, Painting and Photography.
To pick a workspace preset aimed at photographers or retouchers:
Choose Window > Workspace > Photography.
How To Reset Your Photoshop Workspace
If you’d like to get your workspace back to how it looked when you first opened Photoshop, you can simply reset it. To do that, choose Window > Workspace > Reset (Workspace).
Now you know (almost) everything you need to be a whizz working with Photoshop panels. Please share this post. Thank you!
