Photoshop Bootcamp Guide
Working With Type In Photoshop
How To Create Warped Text In Photoshop
It’s easy to add a bit of flair to your text using Photoshop’s Create Warped Text command. Warping lets you distort type into a wide range of shapes, such as a flag, a wave or a fisheye. The warp style you select is applied to the type layer but you can come back and change it at any time - both the type and the style of the warp.
One caveat I should mention: Warp type, as the name suggests, distorts your text. Make sure that your text is still legible after you apply the warp. You can create some cool effects using this command, but as with many things in Photoshop, moderation is the key 🙂
How To Warp Text In Photoshop
1. Create a new blank file or open an existing image file that you want to add some text to.
2. Select the Horizontal Type tool. ![]()
3. In the Options bar at the top of the screen, choose a font (I’m using Avenir here) and set the size to 72, and choose any colour you like (except white if you’re doing this on a new document with a white background).
3. Click anywhere on the image and type some text. Then click the Commit Any Current Edits button (tick mark) at the top of your screen to commit your text.
The words appear on the image and a new layer appears in the Layers palette. The new layer will be named whatever you typed in. In this example, I typed the word Waving Flag, so the new layer is automatically called Waving Flag too.
4. With the Type tool still selected, click on your new text layer in the Layers palette to make sure it is selected and then click on the Create Warp Text button on the tool options bar.
The Warp Text dialog box opens.
5. Click on the Style drop down menu and choose Wave.
6. You’ll see three sliders here. Bend, Horizontal Distortion and Vertical Distortion. Personally, when I’m using Warp Text, I only ever use the Bend slider because I find the Horizontal and Vertical Distortion tend to make the text illegible. But let’s have a quick look at how the sliders change the look.
Drag the Bend slider to -50%, and the text looks like this (see below)
Now try dragging the Horizontal Slider.
Now try dragging the Vertical Distortion slider.
As you can see, the more distortion you add, the more difficult it becomes to read the text.
7. When you’re happy with the warped text effect, click OK.
So that’s how easy it is to create a warped text effect in Photoshop.
Below you can see examples of each of the different styles you can apply.
Thanks for reading, I hope you found this Photoshop tutorial useful.
Please share it! 🙂

Jennifer Farley
Instructor
Hi I'm Jennifer.
I am an Adobe Education Trainer and have been teaching Photoshop, Illustrator and InDesign for over 15 years.
I also work as an illustrator and designer so as well as helping people learn Photoshop, I also use it everyday for my own work.
Other tutorials in the Photoshop Type Guide:
Get a Free Photoshop CC Toolbar Cheat Sheet
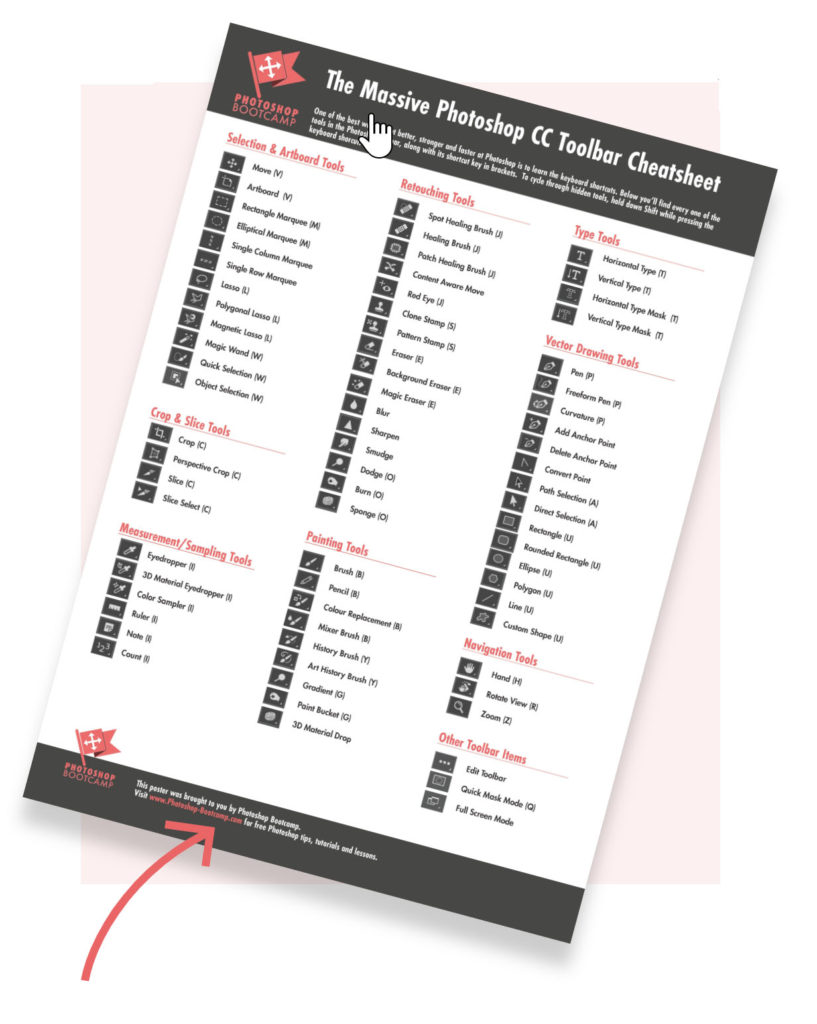
One of the best ways to improve your skills and speed up your workflow in Photoshop is to use keyboard shortcuts. This giant, printable cheat sheet shows all of the shortcuts for every tool in the toolbox.
Join over 1500 Photoshop beginners and improvers who have signed up to the Photoshop Bootcamp newsletter. Get Photoshop tips and tutorials delivered right to your inbox.

Get A Free Printable Photoshop Toolbar Cheatsheet

Subscribe now to get a free printable poster showing all of the Photoshop tools and their keyboard shortcut.

