Halftone effects can bring a nice tactile effect to web graphics, and a worn old school look to printed work. I like to add extra texture to my own illustration work and I occasionally do this by adding a halftone effect. Here’s how to create this effect in Photoshop using the Bitmap Image Mode.
1. Create a new Photoshop document with a white background, width 600 x 200 pixels. Select the Type tool (T) and add some text to the document. I’ve used a font called Impact – a big fat sans-serif font, but any big, fat, bold typefaces work really well when creating this effect. Put some space between the characters by increasing the tracking, you can do this by opening the character panel, click on the tracking dropdown and choose 100.

2. We need to blur it so that it looks like more of a blob than readable text. Choose Filter > Blur > Gaussian Blur. Photoshop will give you a message that you need to rasterize the text layer. Go ahead and rasterize the layer.
When the Gaussian Blur dialog box opens, set the Radius to about 10 pixels or until your text looks something like this:

Click OK.
I’d like the effect to be a little darker so, duplicate the layer by pressing Ctrl + J (win) or Cmd + J (mac). It should something like this.

3. We’re going to change from RGB mode to Bitmap mode, but we can’t go there in one step. We need to change firstly to Grayscale mode. To do this choose Image > Mode > Grayscale.
You’ll see the following message: “Changing modes can affect the appearance of layers. Flatten image before mode change?”
Click Flatten. You’ll probably get another message about Discarding Color Information, click Discard.
4. Now choose Image > Mode > Bitmap. On the Bitmap dialog box leave the output at 72 for web graphics and choose Halftone Screen from the Use dropdown box.

Click OK.
5. On the next dialog box that opens you set up how your halftone dots will look. There’s a bit of trial and error here, so you might like to play around with the numbers. The higher the frequency, the more dots will appear. I kept the number fairly low here at 15, set the angle to 45 degrees and chose a diamond shape for the dots.

Unfortunately there is no preview option when working with the Halftone Screen dialog box, so if you don’t like the result, just hit Ctrl + Z (PC) or Cmd + Z (Mac) to undo and take this step again.
When you click OK, the former blurry blob turns into a halftone blob, like this.

6. So that’s the main effect created. Although it looks reasonably cool on its own I still want to include some readable text with it. To add more text to the image we’ll need to get back to RGB mode. First choose Image > Mode > Grayscale, just click OK on the small dialog box that opens then choose Image > Mode > RGB.
7. Now we’re back in RGB mode, select the Type tool again and with the same settings as before type in the same text in black. The new text will appear on a layer above the halftone blurred text.
In the layers panel, reduce the opacity of the new text layer to about 50% and voila! Some dirty, texture-y type.

Working With Images
The process is EXACTLY the same if you want to create this effect with an image rather than text. Simply apply the halftone effect to your image and then apply a duplicate of your original image on top.
Here’s a skull I created using the same steps as outlined above.

The only thing I did differently here was in the final stage. I started with a black and white image of a skull. When I put the duplicate skull on top of my blurred halftone image, I set the blending mode to Multiply so that the original red color of the skull can be seen in some of the dots.
So that’s how to create halftone images. I love the dirty, retro look that this effect can bring to a design.
I hope you’ve found this Photoshop’s tutorial useful and I would be really grateful if you would share it. Thank you so much! 🙂
Get A Free Printable Photoshop Toolbar Cheatsheet
Subscribe now to get a free printable poster showing all of the Photoshop tools and their keyboard shortcut.
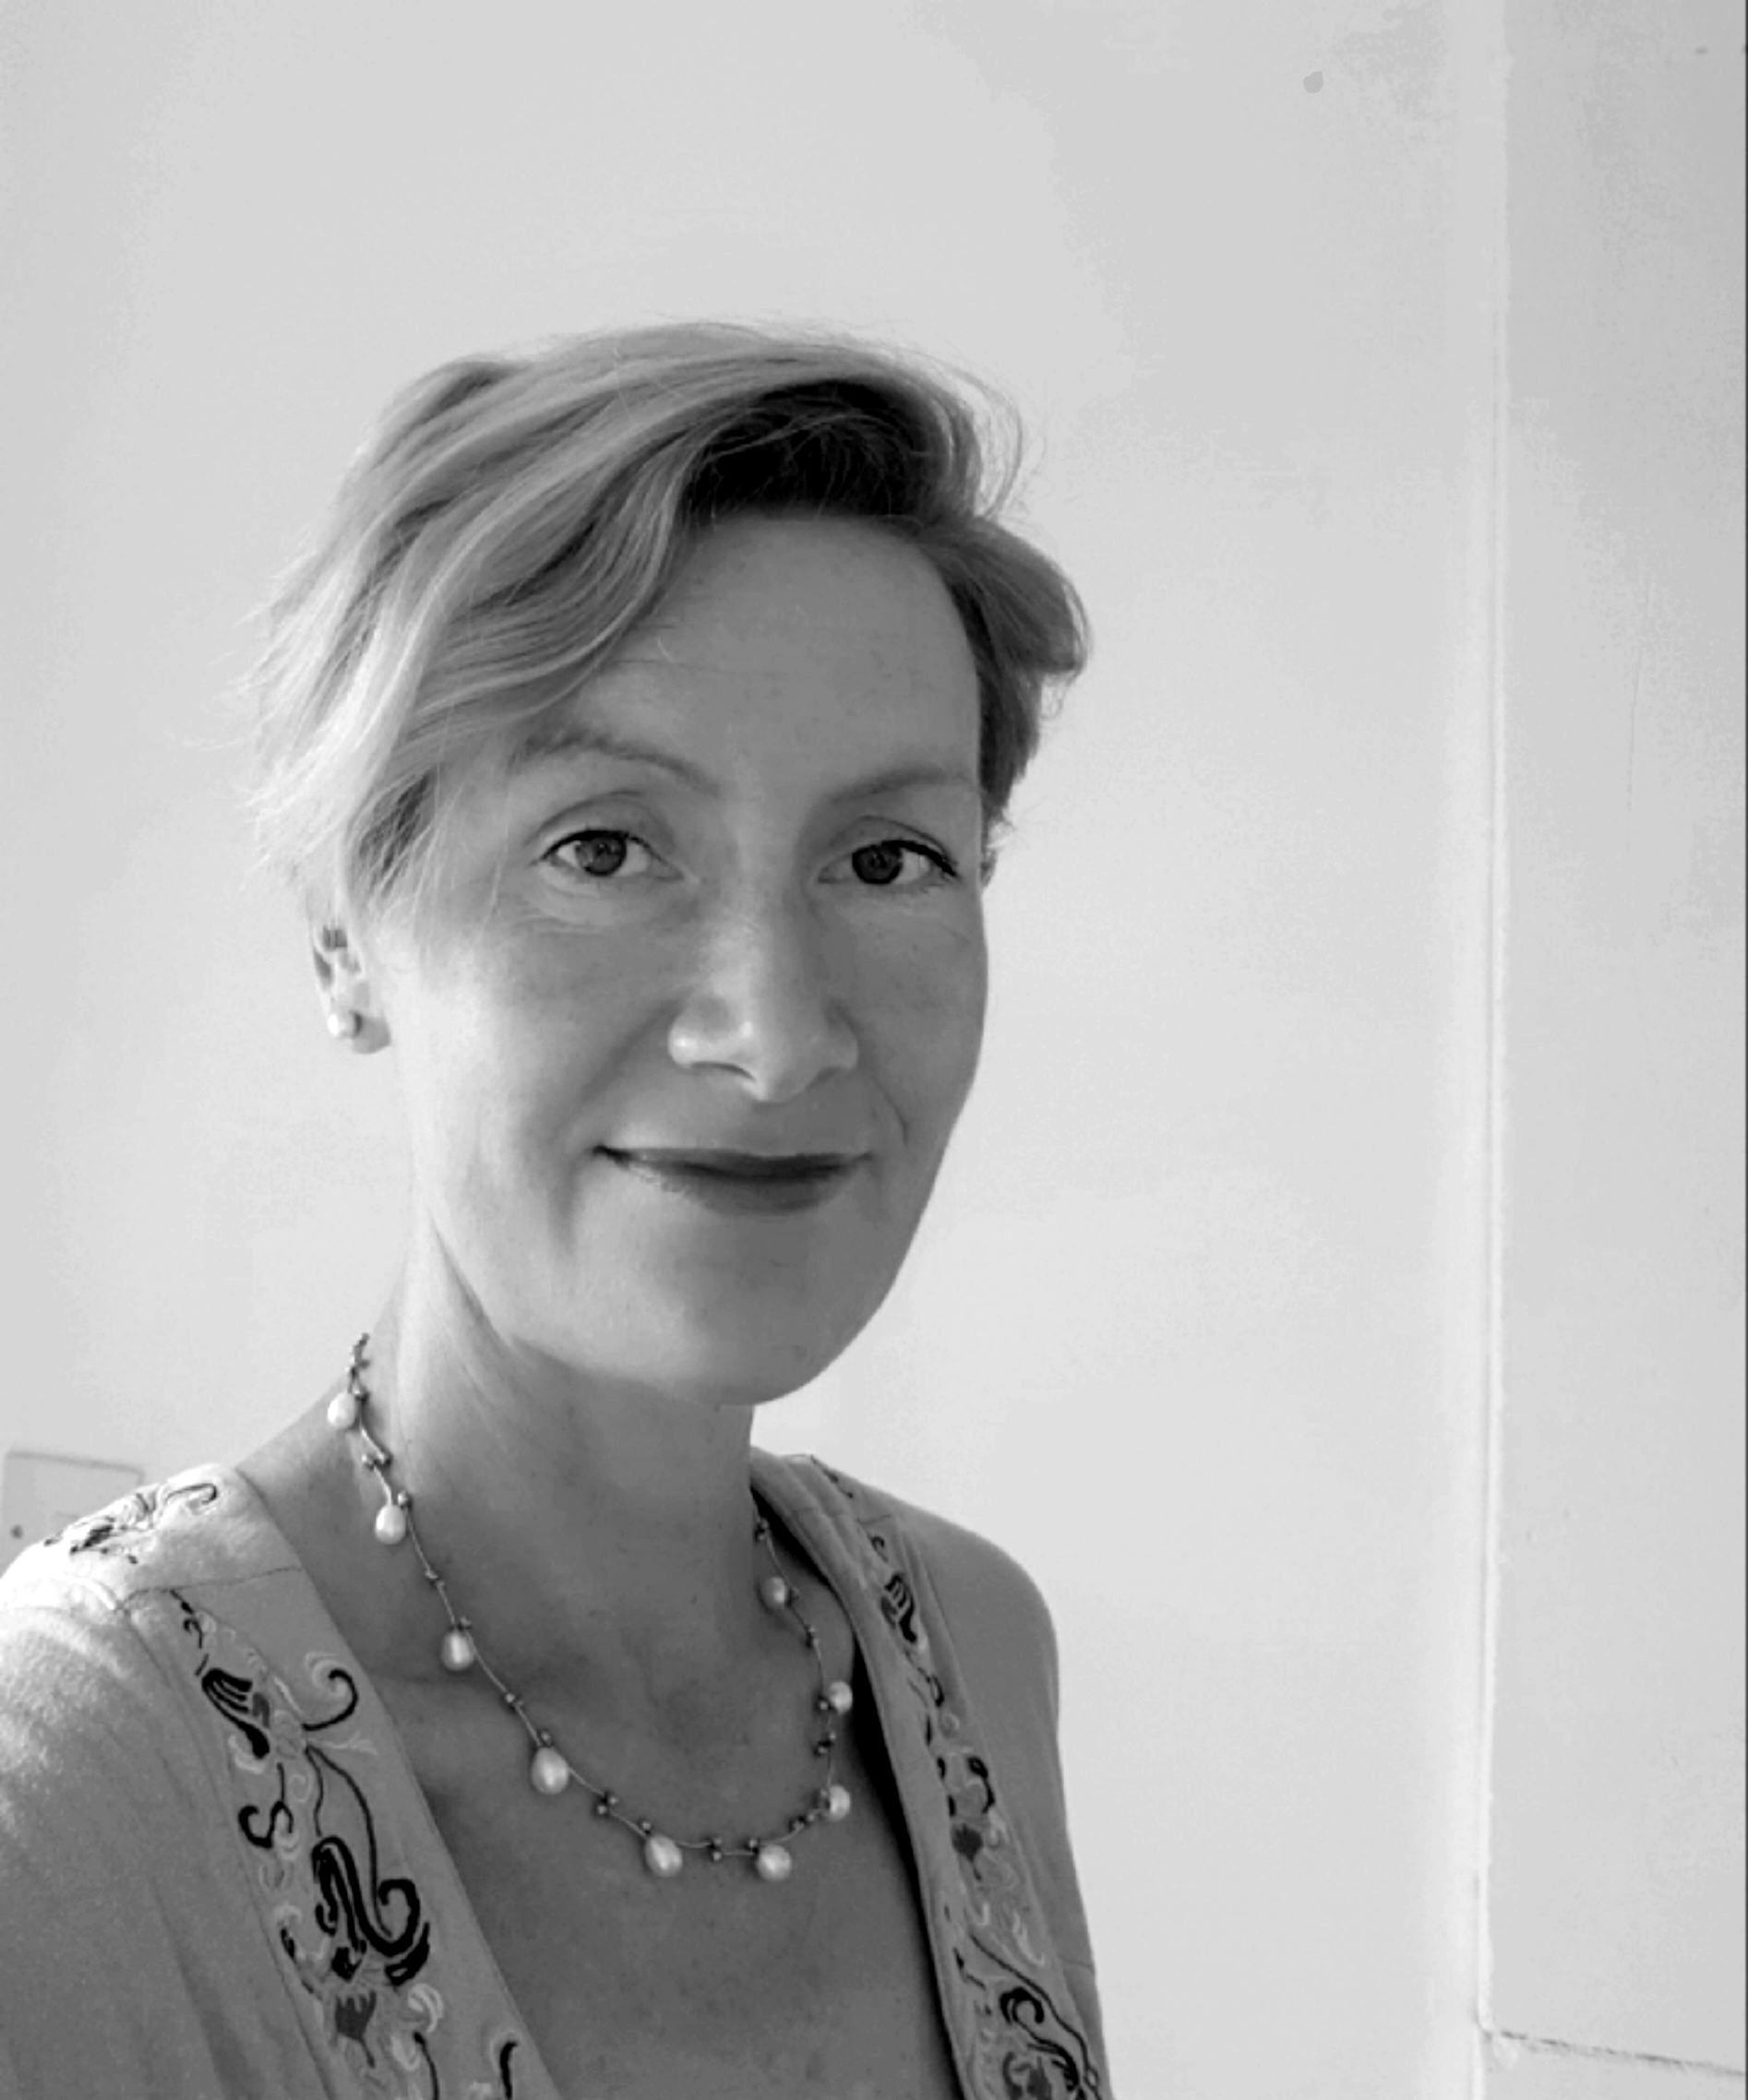
Hello!
My name is Jennifer Farley. I’m an illustrator, designer, author and design teacher based in Ireland. I’ve been teaching and working in the design field for over 15 years and I help people learn Adobe Photoshop, Lightroom, Illustrator and Graphic Design.
Photoshop Bootcamp is a growing collection of my Photoshop tutorials and lessons I’ve written for my students.
