Speech bubbles are useful for conveying ideas in design and are used frequently in web, graphic and logo design and also as icons. Photoshop CC comes with a set of speech bubble shapes just waiting for you to use them, but they are hidden away a little bit. I’ll show you how to find them and how to add them to your designs and change their colour.
Photoshop Shape Tools
Photoshop comes with five basic shape tools - the Rectangle Tool, the Rounded Rectangle Tool, the Ellipse Tool, the Polygon Tool, and the Line Tool. These let us add simple geometric shapes like rectangles, squares and circles, as well as stars, starbursts and direction arrows, to our images.
Photoshop also comes has the Custom Shape Tool which allows us to create more interesting and complex shapes such as snowflakes, pawprints, light bulbs and … speech bubbles. The really great thing about all of these tools is that they are Vector drawing tools. (Learn the difference between Bitmap and Vector images here).
That means we can make the shapes bigger and smaller without any loss of quality. I’ve added a special cheatsheet to this post - a three page PDF which includes a Custom Shape Quickstart and a visual guide to all of Photoshop’s Custom Shapes. Download it below or at the end of the post.
Download My Photoshop Custom Shapes Cheatsheet
How To Use The Custom Shape Tool In Photoshop
1. From the Photoshop toolbar select the Custom Shape Tool
It is a hidden tool underneath the Rectangle Tool.
Click and hold on the Rectangle on the toolbar and you’ll see the full set of vector drawing tools appear. Choose the Custom Shape Tool.

2. On the Options bar at the top of the screen, make sure the first drop down option is set to Shape. This ensures that you are creating vector shapes which will either be filled with the colour and/or stroke colour you choose. Next, select a Fill colour. In this example, I’m using red. Leave the Stroke colour as empty and ignore the rest of the options except the actual Shape option. Click on the Shape drop down box and choose the Talk Bubble.

3. Drag out the shape in your image window. Hold down Shift as you drag to constrain the proportions of the bubble, otherwise, it will look stretched and distorted.
When you’ve dragged the speech bubble to the size you want, release the mouse. And there it is!
Changing The Colour Of The Speech Bubble
Ok, now you have a lovely speech bubble, but let’s say red is not your colour. How do you change it? There are two quick ways to change colour of any vector shape that you draw in Photoshop.
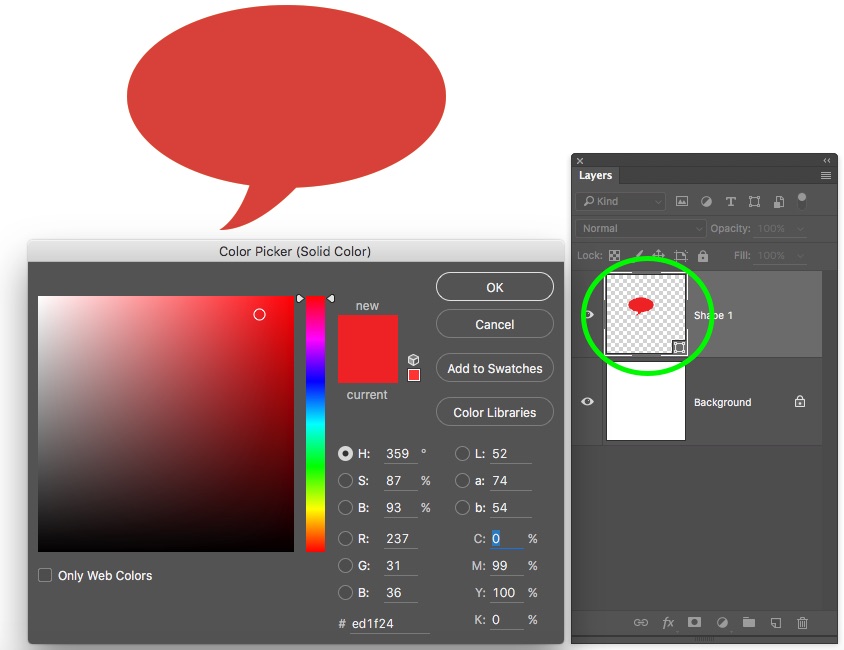
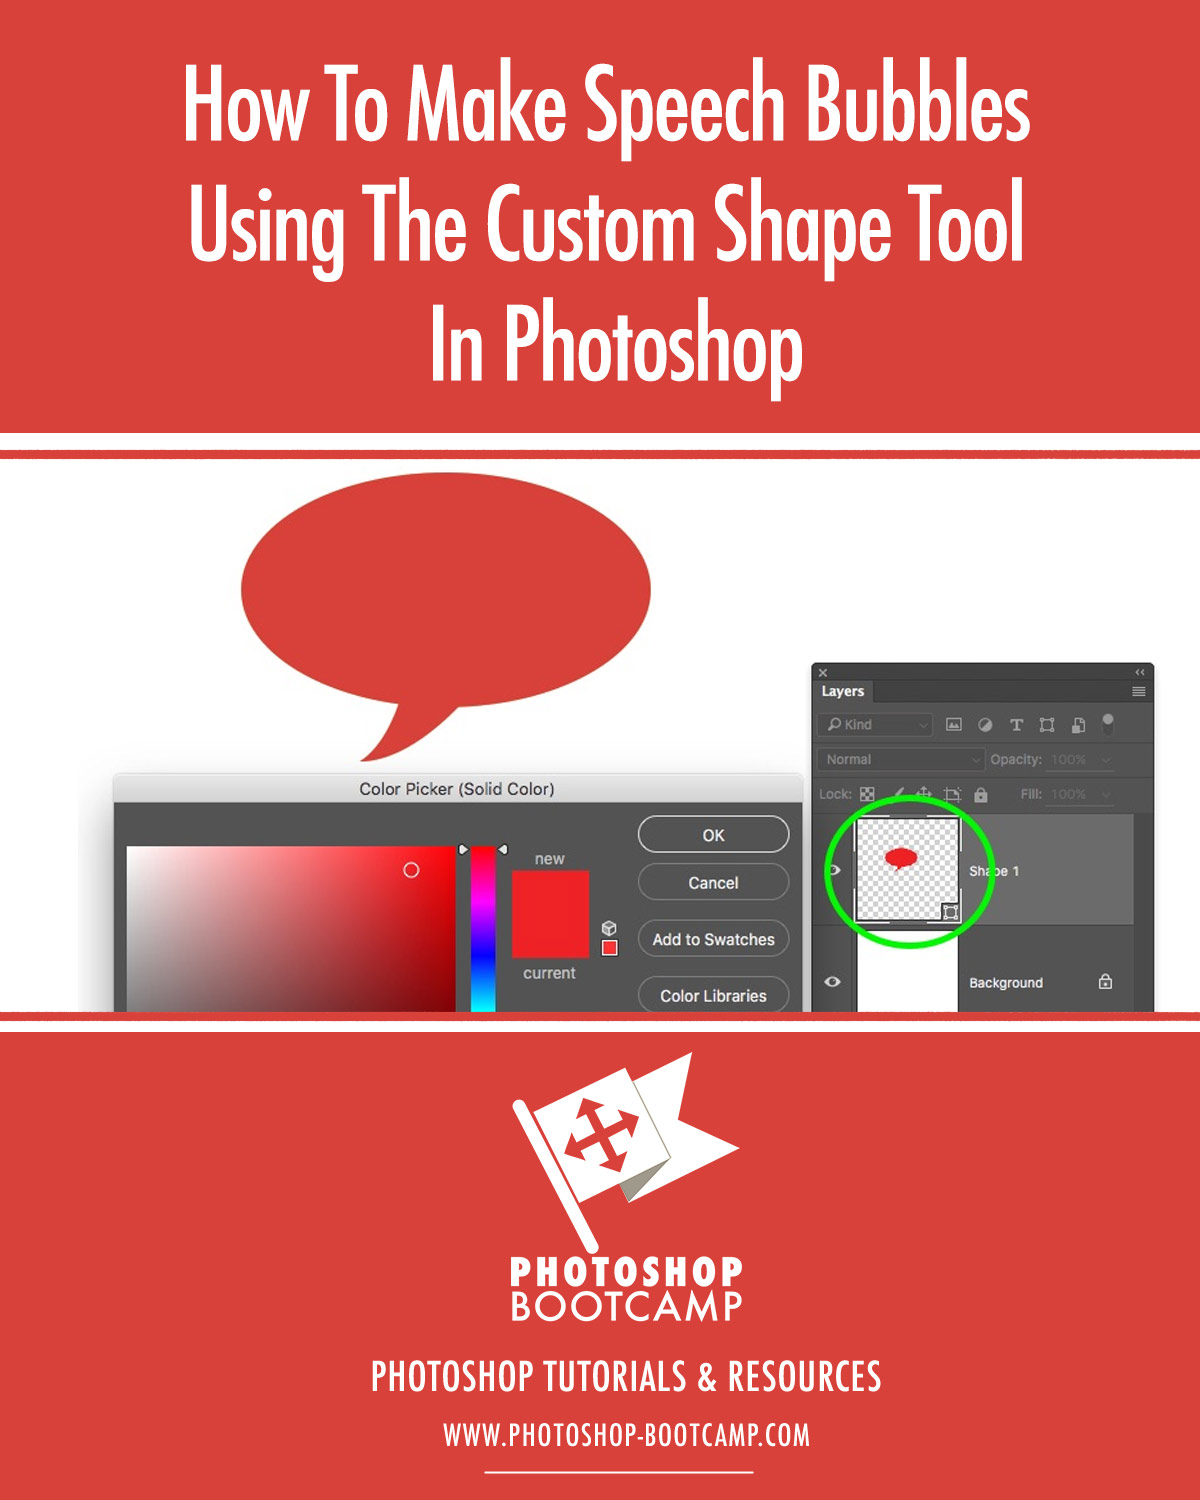
1.In the Layers panel, double-click on the thumbnail (highlighted in green below) on the new Shape layer that you’ve just created. This will open the Photoshop Color Picker box.
Simply choose whichever colour you like best by picking a base colour in the tall colour slider strip, and then click in the main colour field to choose how light or dark that colour will be. You’ll notice that the nice thing about shape layers is, when you double-click on their thumbnail to change colour, you can try out lots of colours before clicking OK as the changes will happen as you move around the colour picker. When you are happy with your colour click OK.
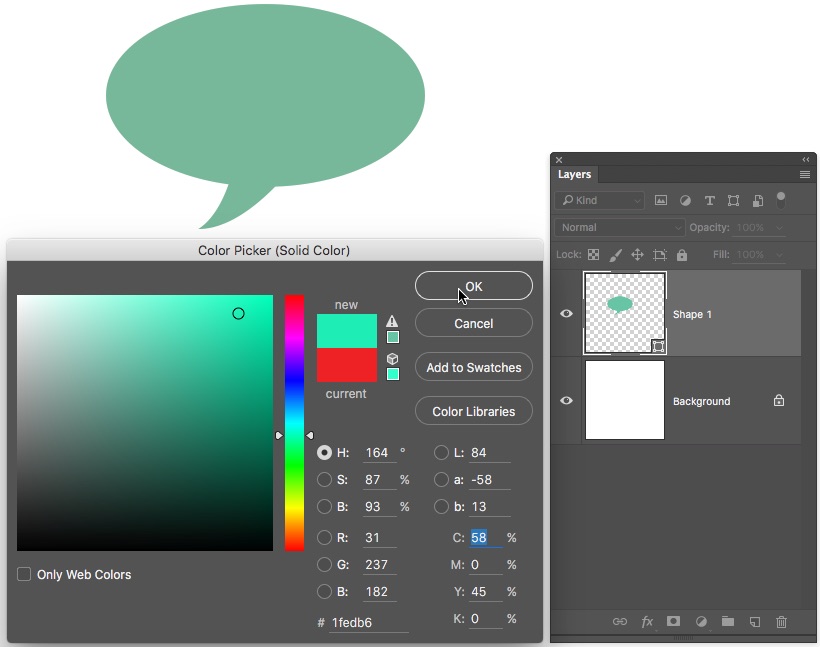
2. An alternative way to change colour is this: First make sure that the speech bubble is selected (it is selected when you can see the path and the anchor points of the shape). Then on the Options bar at the top of the screen, click on the Fill colour. You can choose to have No Color, which is the first option, a solid color, a gradient or a pattern. By default, the solid color is selected and when you choose one of the swatches below, it will instantly change to that colour. If you don’t see a color you want in the swatches you can also choose to click on the Color Picker option which opens the usual Photoshop Color Picker.
How To Make A Speech Bubble With A Stroke Around It Rather Than A Fill
If you want only a coloured stroke around a speech bubble but no fill colour inside it, you can quickly set that up in your Options bar at the top of the screen in Photoshop.
1.With the Custom Shape Tool selected as before, go to the Options bar. Click on the Fill colour and set it to No Color (as shown above), then click on the Stroke option and choose the color you want using either the Swatches in the drop-down box or the Color Picker as above.

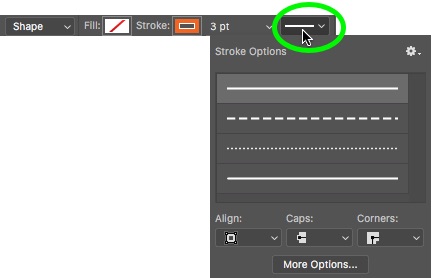
2.Change the width of the stroke by clicking on the drop-down menu and dragging the slider to the right to increase the thickness and to the left to decrease the thickness. Then drag out your shape as before.

3. You also have a choice of solid, dash or dotted lines on your stroke. To change the Stroke type, click on the drop down and choose the style you like.

How To Find More Speech Bubble Shapes
Now you know how to create and modify a vector speech bubble, you might be wondering if that is the only speech bubble shape available in Photoshop? Well no, there are actually quite a few more hidden away for us to play with. Here’s how we get to them:
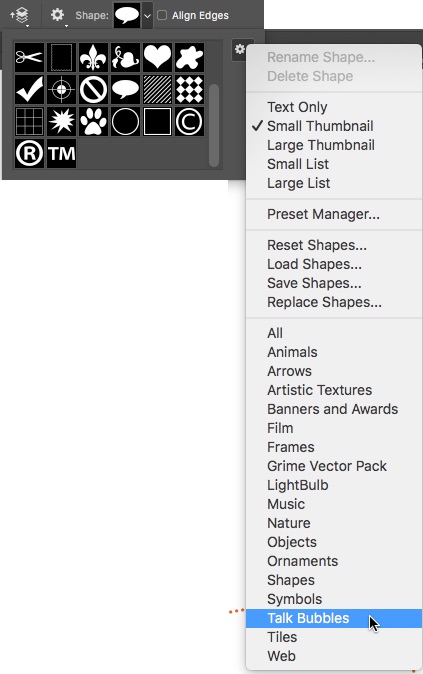
1.With the Custom Shape Tool selected, in the Options bar at the top of the Photoshop screen, click on the Shape drop down. Then click on the sub-menu (it looks like a cog wheel) and choose Talk Bubbles.
2. A dialog box will open asking if you want to Replace or Append the current set of Shapes. I usually choose Append, and this adds the new set of shapes to the end of the currently visible shapes.
3. Now scroll down through the shapes and you’ll see a lovely set of speech bubbles.
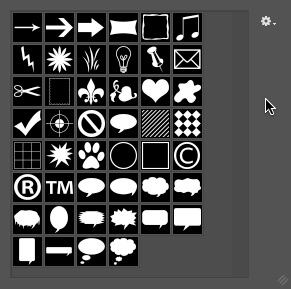
4. Click on the bubble you want to draw and then click and drag out the shape on the image window. Remember to hold down Shift to constrain the proportions on the bubble.
Try out different shapes, different colours and different strokes.

I hope you’ve found this useful. If you have any questions please put it in the comments below and I’ll do my best to answer it.
Download my Photoshop Custom Shapes Cheatsheet
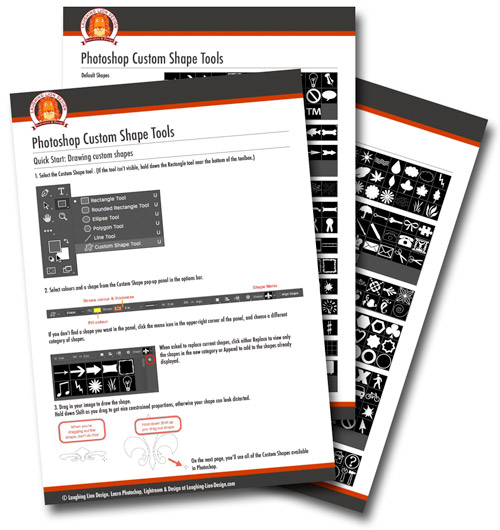
The three-page cheat sheet gives you a quick start to working with Photoshop’s Custom Shape tools and a visual guide to every shape that comes with Photoshop.
I hope you’ve found this Photoshop’s tutorial useful and I would be really grateful if you would share it. Thank you so much! 🙂
Pin This!
Get A Free Printable Photoshop Toolbar Cheatsheet
Subscribe now to get a free printable poster showing all of the Photoshop tools and their keyboard shortcut.
Hello!
My name is Jennifer Farley. I’m an illustrator, designer, author and design teacher based in Ireland. I’ve been teaching and working in the design field for over 15 years and I help people learn Adobe Photoshop, Lightroom, Illustrator and Graphic Design.
Photoshop Bootcamp is a growing collection of my Photoshop tutorials and lessons I’ve written for my students.
