Physical Address
304 North Cardinal St.
Dorchester Center, MA 02124
Physical Address
304 North Cardinal St.
Dorchester Center, MA 02124

Last Updated on July 24, 2018
Here’s a quick Photoshop fix for straightening crooked photographs using the Ruler tool. This was also a little video experiment for me too.
The Ruler tool is an often overlooked tool hidden beneath the eyedropper on the Photoshop toolbar. You can use it to measure lengths, straighten photographs and place objects exact distances apart. In short, it’s very handy. Here’s a video showing you how to quickly straighten a lopsided photo. If you prefer to read, you can find the step by step instructions for straightening a photo underneath the video.
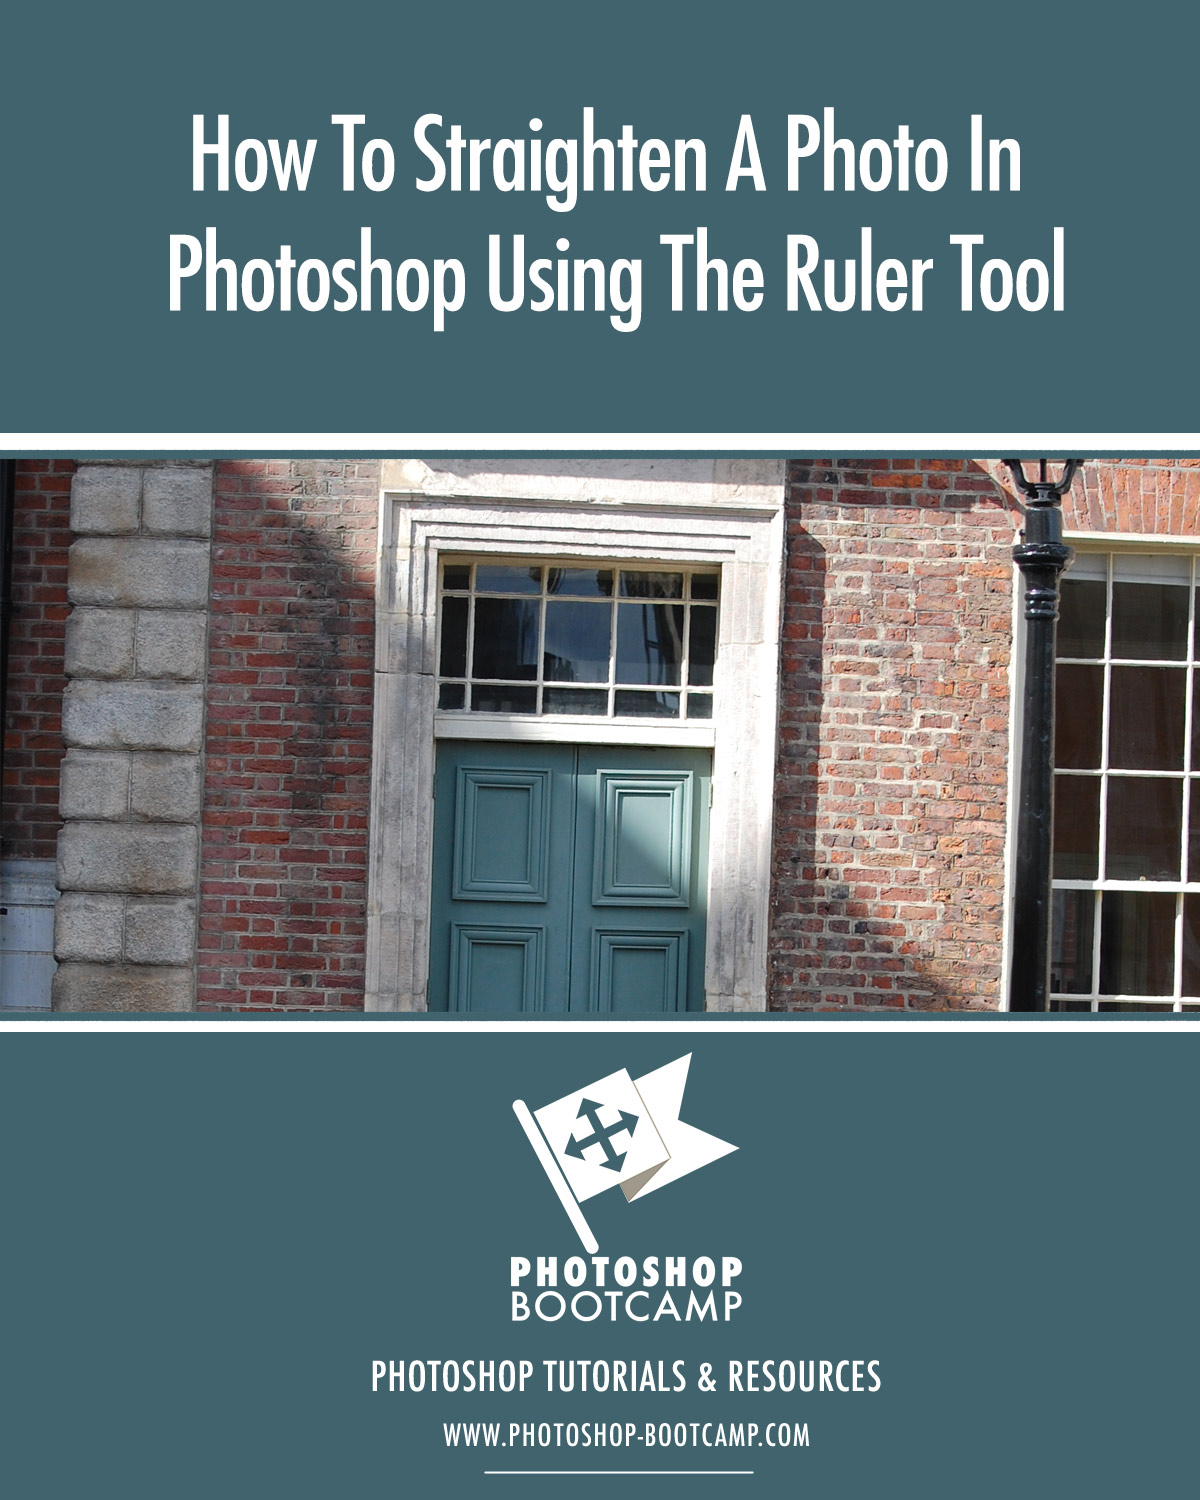
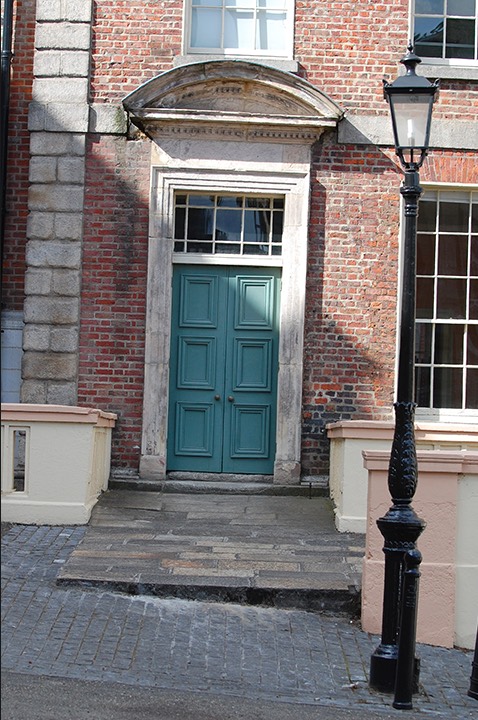
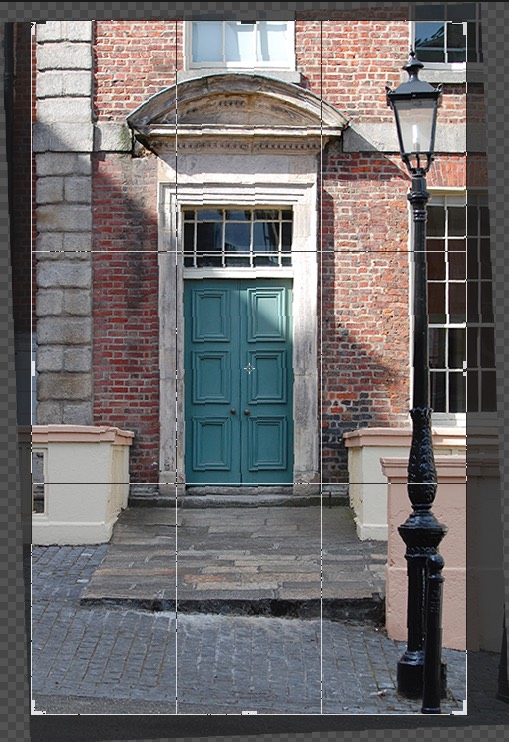
The photo I’m using below is one I took in Dublin. The street is on a hill and you can see that the photo I took is quite crooked and the door looks completely lopsided.
1. With your photograph open in Photoshop, select the Ruler tool.
The Ruler tool is hidden under the Eyedropper tool in the toolbar. Press and hold, or right-click on the Eyedropper to reveal the hidden tools, then select the Ruler tool.
2. Click, then drag along the edge of something in the photograph that should be perfectly vertical or horizontal. In my photograph, I’m dragging a straight line along the top of the doorway.

3. Click the Straighten Layer button in the Options bar at the top of the screen. If you’ve made a mistake when drawing a line with the Ruler, hit the Clear button instead of Straighten Layer and start over.
![]()
Photoshop works its magic and straightens the whole photograph.
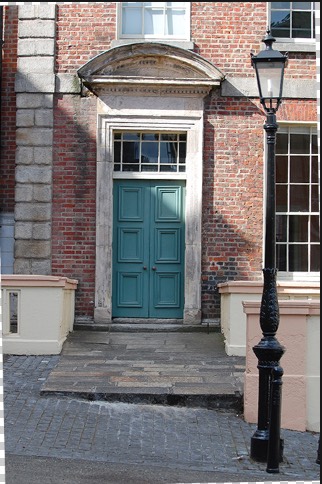
4. You’ll notice that as part of the straightening process, some areas in the top and bottom corners of the photograph have become transparent. To crop away these parts of the photo, select the Crop tool, and use the handles to drag an area that covers the part of the photo you want. Then hit Enter/Return on the keyboard or press the Commit button on the Options bar.
You should now have a nicely straightened and cropped photo.

If you found this useful, please share it. Thank you very much!