Physical Address
304 North Cardinal St.
Dorchester Center, MA 02124
Physical Address
304 North Cardinal St.
Dorchester Center, MA 02124
Last Updated on August 1, 2021
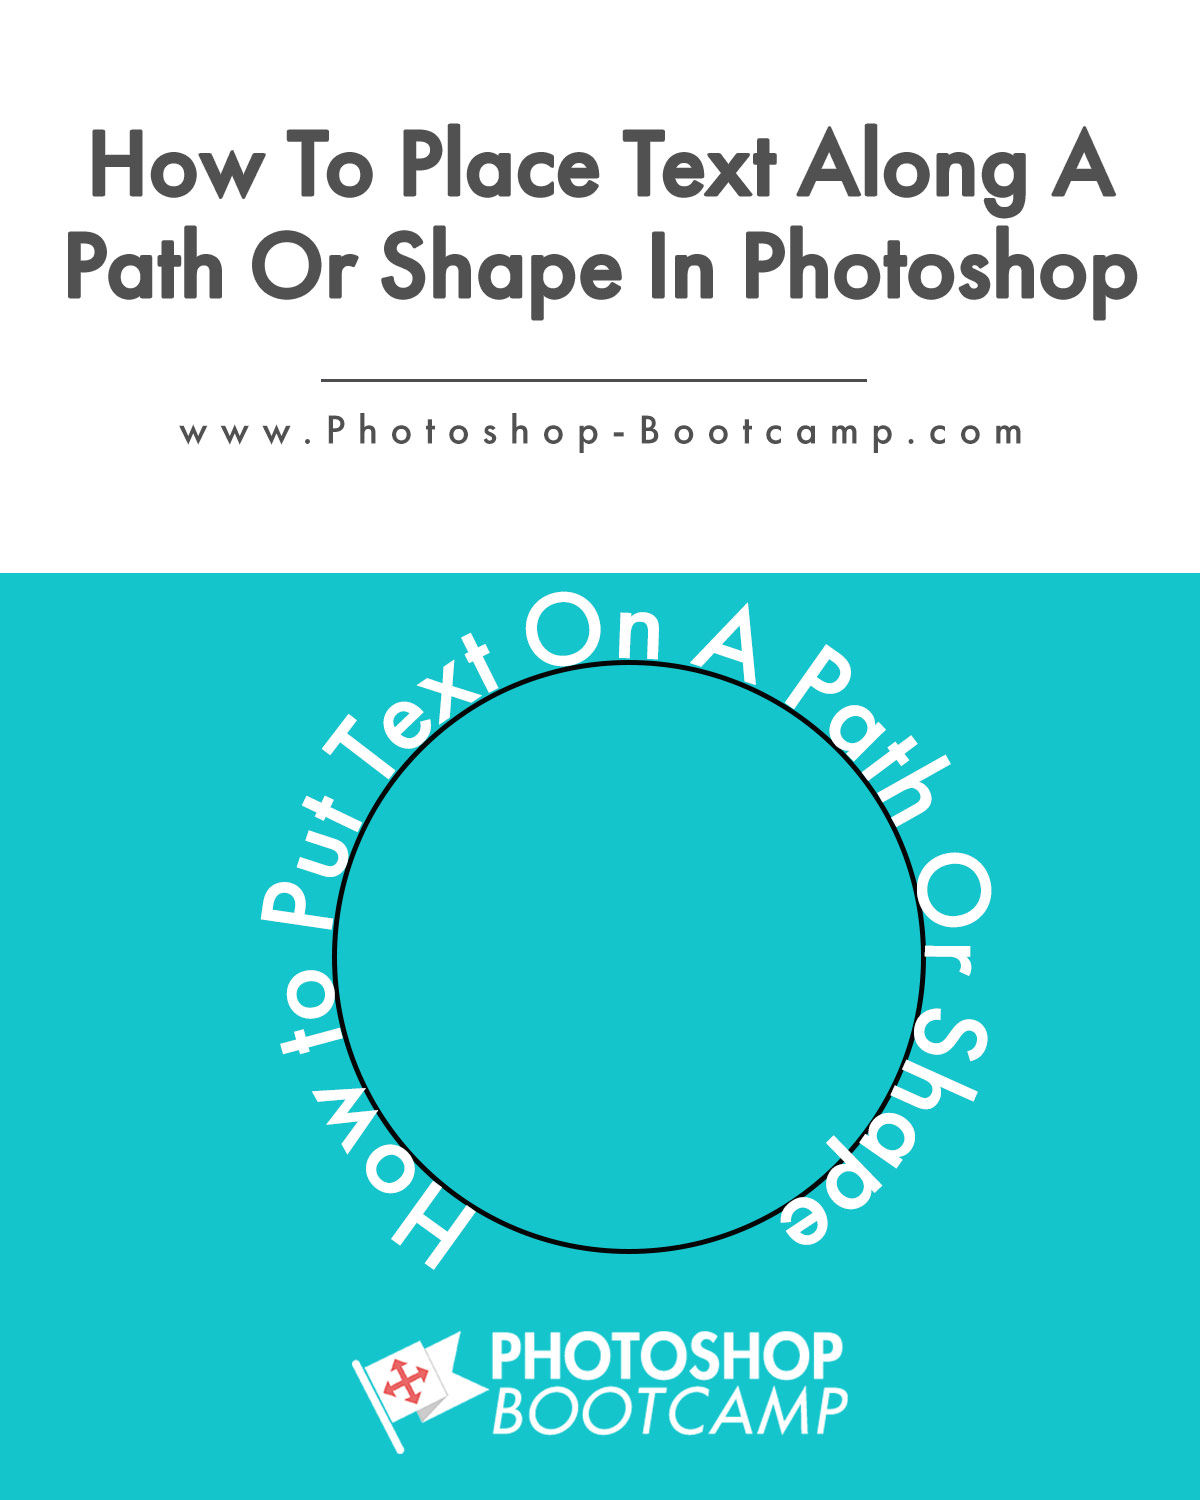
 Adding text on a path is an important technique for designers. If you want to draw a shape and have the text run along it, or even inside it, you can do that using the Photoshop Pen Tools and Shape Tools combined with the Type Tool. I’ll show you how to do this now.
Download Photoshop Free 7 Day Trial
If you’re brand new to Photoshop or maybe a bit rusty with the the Pen Tool , start off by reading my tutorial on how to create curves with the Pen Tool. Otherwise, start here and follow along below.
1. Create a new Photoshop document. I made mine 1000 px x 1000 px at 72 ppi.
2. Select the Pen tool in the toolbox, or press P as the keyboard shortcut. ![]()
3. In the Options Bar at the top of the screen, you can choose either Shape or Path from the first dropdown. If you choose Shape, choose any colour for the Stroke, BUT make sure that the Fill colour is set to none. Otherwise, Photoshop will start to colour-in your curve as you draw it and it can be a bit confusing and difficult to see what you’re doing. If you choose Path, there will be no colours involved and you will simply draw a path.

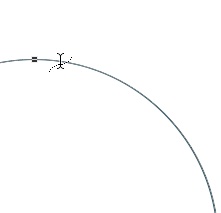
4. Draw a simple curved path with the Pen Tool.
5. Select the Text tool in the Tools panel or press T on the keyboard as a shortcut. ![]()
6. In the Options bar (below), choose options such as font and alignment before you type. You can always change options settings after you’ve typed the text. As you are putting text down on a white background, make sure to change your Font Colour to something other than white, otherwise, you won’t be able to see it.

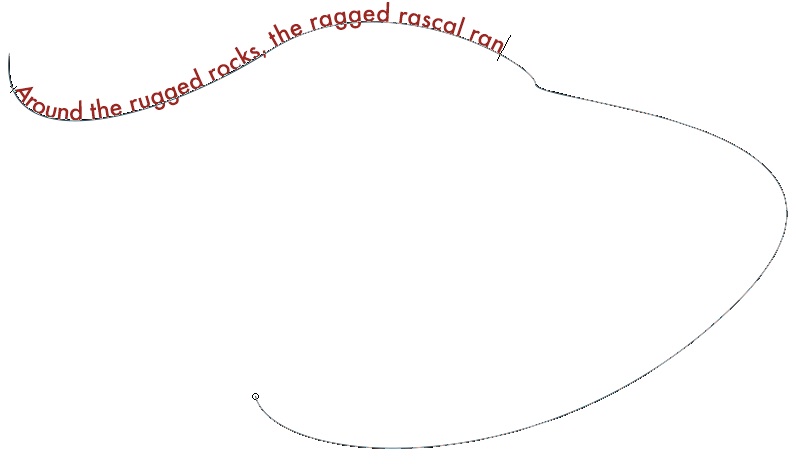
7. If you chose a left text alignment, which is the default alignment, click near the left side of the path with the Text tool, then start typing. If you chose a centred text alignment, click near the center of the path you drew, then start typing. Notice how the Text tool cursor changes to an I-Beam with a path through it.
As you type you’ll see that your text follows the direction of the path.
8. When you’re finished typing, click the checkmark icon on the Options bar to commit the text (or any changes you made) and to deselect the text.
Now the path you originally drew has disappeared and your text is floating beautifully along an invisible path.
Editing text on a path is the same as editing “normal” text in Photoshop. To change the font face, font size, or font colour of existing text, first use the Text tool to select the text by clicking and dragging to highlight the piece of text, then change the settings.
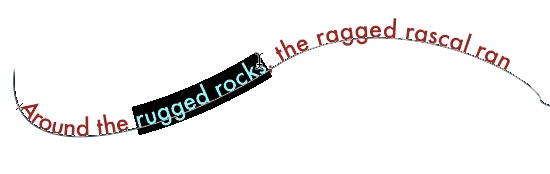
Often your text won’t appear exactly where you want it on the path, so you can move it along the path you’ve drawn by using the Path Selection Tool (black arrow).
1. Make sure your text layer is selected, then choose the Path Selection tool. It’s the Black Arrow. ![]()
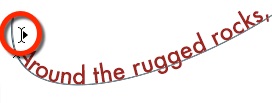
2. Hover the cursor near the beginning of the text. Notice that the cursor changes to what’s known as an I-beam-and-triangle. This indicates that you can now drag the text along the path.
3. Drag the text along the path. It will almost feel like you’re pushing it. You’ll see the text move along and follow the curves you drew.
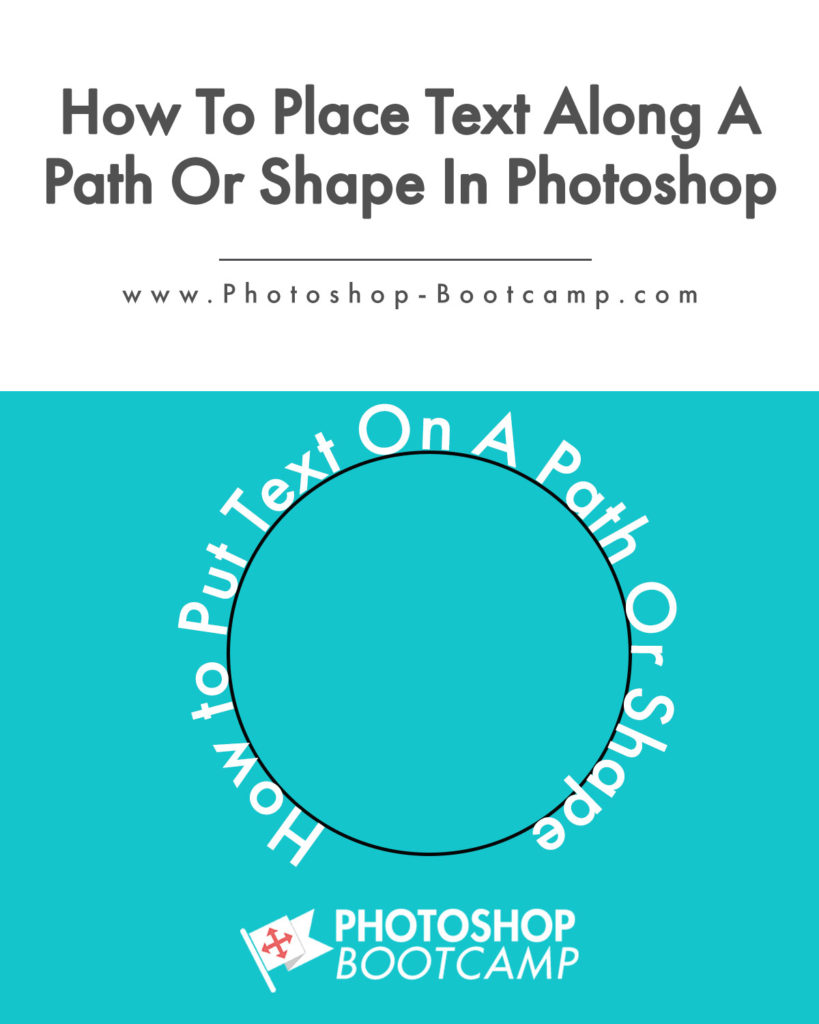
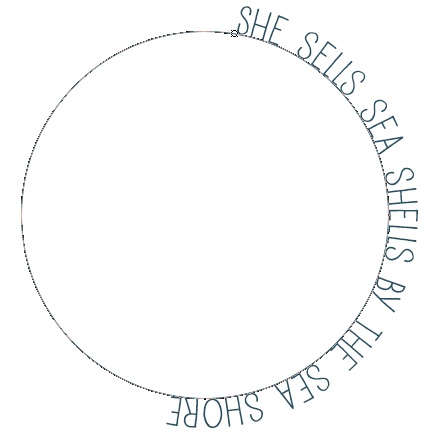
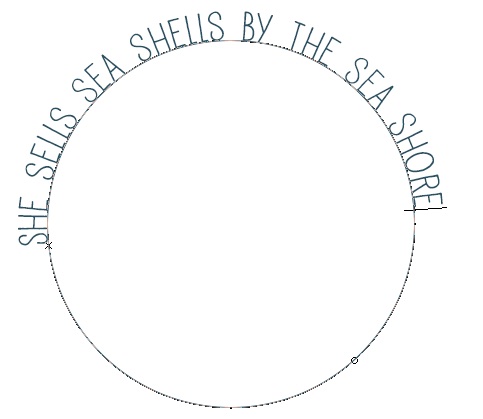
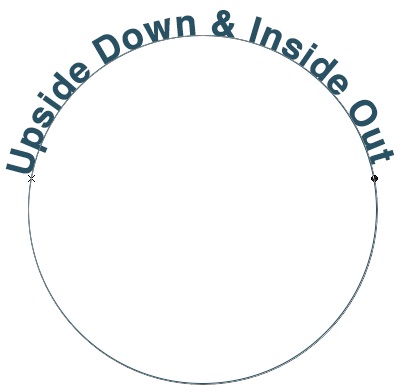
Again this is another technique frequently used by designers, particularly in logo design. Let’s take a look at how to add text around a shape. In this case, I’m adding text around the outside of a circle, but you can do this with ANY vector shape.
1. Create a new document in Photoshop. I made mine 1000 x 1000 px at 72ppi.
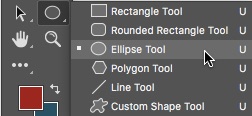
2. Select the Ellipse Shape Tool. ![]()
It is hidden under the Rectangle Shape Tool, so click and hold on the Rectangle Tool in the toolbar and the hidden tools will appear. Choose the Ellipse.
3. Click and drag out a circle on your document.
Tip: Hold down Shift to get a perfect circle as you drag.
4. Select the Text tool in the Tools panel or press T on the keyboard as a shortcut. Choose your text settings as before.
5. Move your Text Tool cursor over the circle shape and notice how it changes to indicate Type On A Path. Start typing.
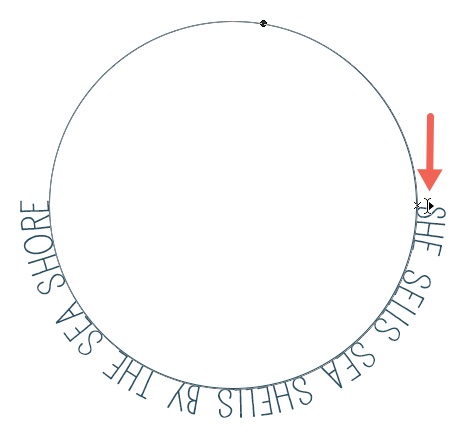
6. As we saw previously with Text On A Path, you can select the Path Selection tool and move the text along the path.
We’ve seen how to add text to the outside of the path. But how do we set the text inside the shape? Here’s how:
1. Start with some text on a path, as above and move the text to the position you want.
2. Drag the Text tool across the text on a path to select it.
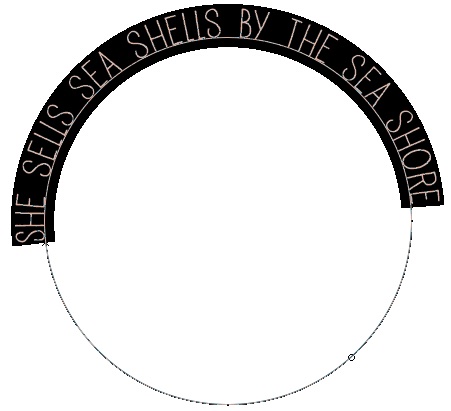
3. On the Character panel, go to the Baseline Shift field, and enter a negative number. In my case, I found that -35 moved the text down and across the path into a position I wanted. Lower the Baseline Shift until you are happy with the alignment of the text with the inside of the shape.
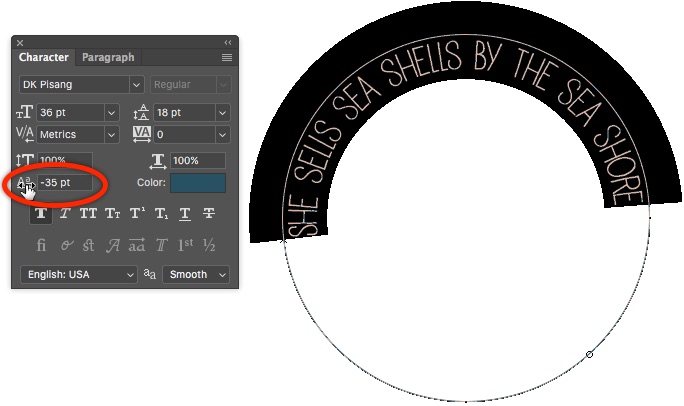
4. You might find that after reducing the Baseline Shift, the letters are now very close together. You can adjust the space between letters by adjusting the value in the Tracking field on the Character Panel.
![]()
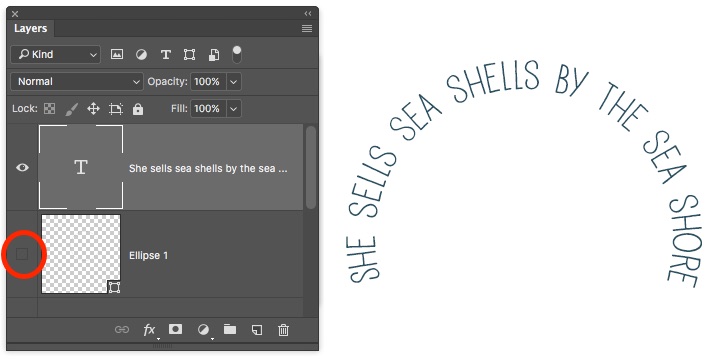
5. Deselect the text. If you can still see the ellipse shape, go to the Layers panel and turn off the visibility on the ellipse shape layer. Your text should now look something like this:
We’ve seen how to add text to the outside of the circle and how to move inside the circle. How do we put text on the inside at the bottom of the circle? Well, I’m glad you asked. Here’s how:
1. Create your circle vector shape as before and add some text to the outside.
2. Select the Path Selection tool in the Tools panel and position the cursor over the text.
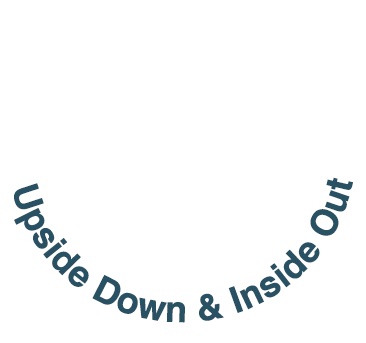
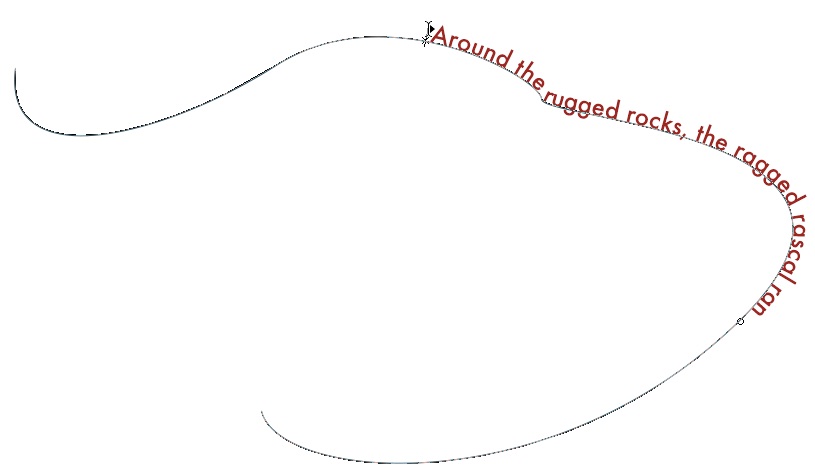
3. When the cursor changes to an I-beam with double arrows, click and drag the text downward until it flips upside down.
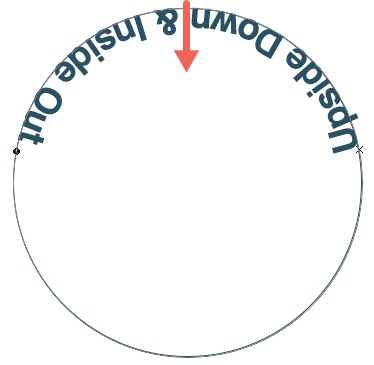
Sometimes when you flip the text over, you might find the text runs away from you and starts sliding around the circle.
4. Your text is inside the circle, but it’s upside down and at the top. To get the text to the bottom of the circle and the right way around, continue to drag the text down the side of the shape, all the way to the bottom of the circle. It will automatically appear upright.
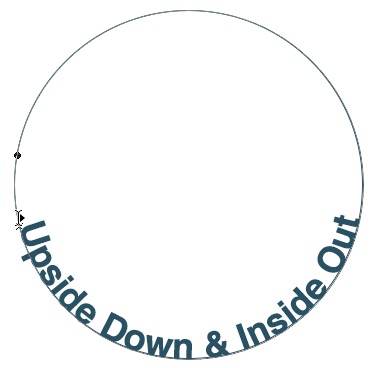
Again, if necessary, turn off the visibility of the Ellipse layer to hide the path. Your final text should look something like this:
Download Photoshop Free 7 Day Trial
I hope you found this article on creating text on a path in Photoshop useful.
I would be really grateful if you would share it. Thank you! 🙂