Physical Address
304 North Cardinal St.
Dorchester Center, MA 02124
Physical Address
304 North Cardinal St.
Dorchester Center, MA 02124
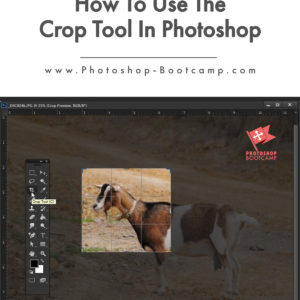
The Crop tool in Photoshop is used to crop or make an image smaller, but did you know you can also use the Crop tool to add to the canvas area? Click here for a quick Crop Tool refresher.
This is an easy way to add a larger border or white space around an image. It works well for posters and you could also easily adapt it to create a polaroid style image.
Click Here To Download A Free Photoshop 7 Day Trial
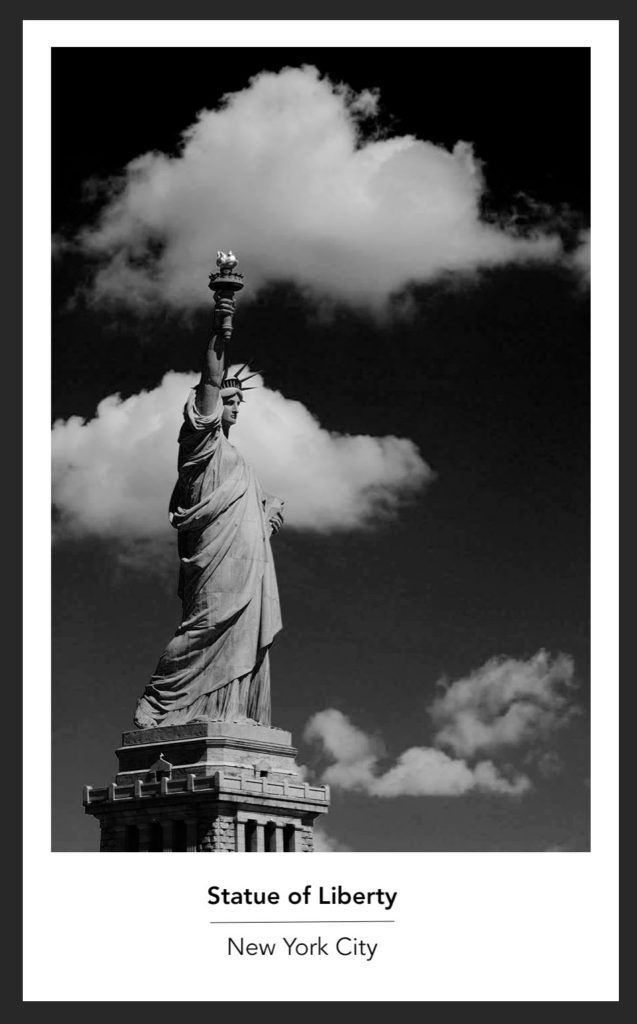
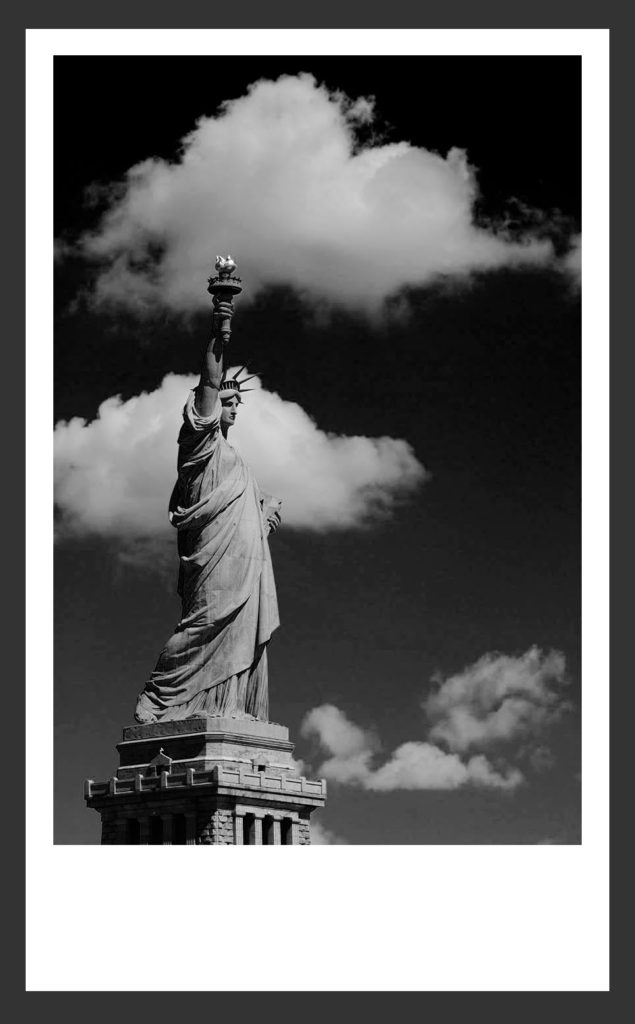
Follow along and I’ll show you how to increase the canvas size and then turn your image into an eye-catching black and white poster like this one.
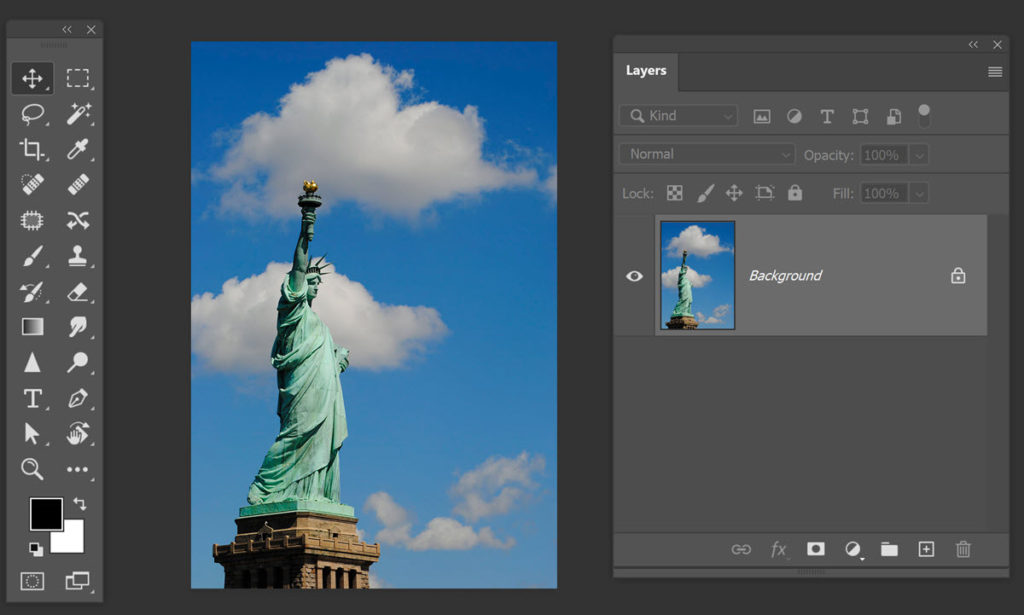
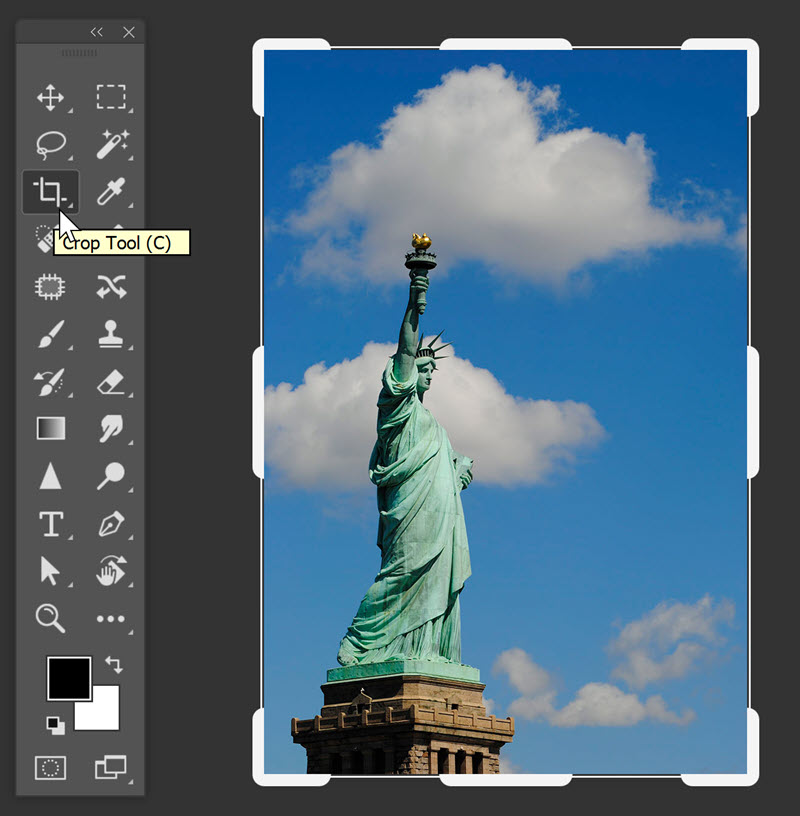
1. In Photoshop, open an image that you want to add a white canvas area to. I’m a picture I took of a certain Lady Liberty during a fantastic trip to New York.
2. In this case, I want to add extra white canvas around the image, press D on the keyboard to set the Foreground and Background colours to Black and White respectively.
3. Zoom right out so that you can see all of the image and some of the grey area around it.
4. Looking in the layers panel, notice this image only has one layer - the Background layer.
5. Select the Crop tool (C). The crop bounding box appears around your image.
6. Click and drag out the top middle handle so that the cropping area is now outside the image. Drag out on the left and right middle handles so you add the same amount of white background all around.
Finally, drag the bottom middle handle. For the effect I wanted to achieve, I dragged out further to give a larger white area underneath the photo.
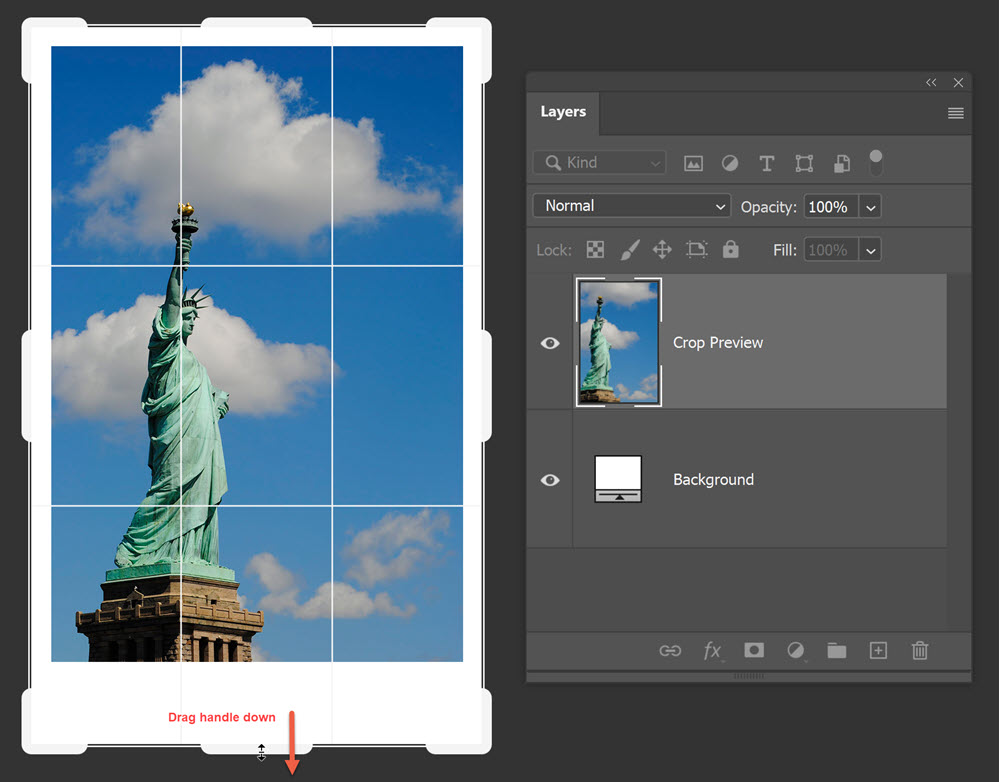
7. Press Enter (PC) or Return (Mac) to finalise the Crop. The grey desktop area that you include in the crop area will be converted to extra image canvas and will appear white because that is the current background colour.
And that’s how you add canvas all around. Easy peasy.
There are many ways to convert an image to black and white. For this example, I’m going to use the Black and White adjustment layer. We can then finish the poster with a small piece of text.
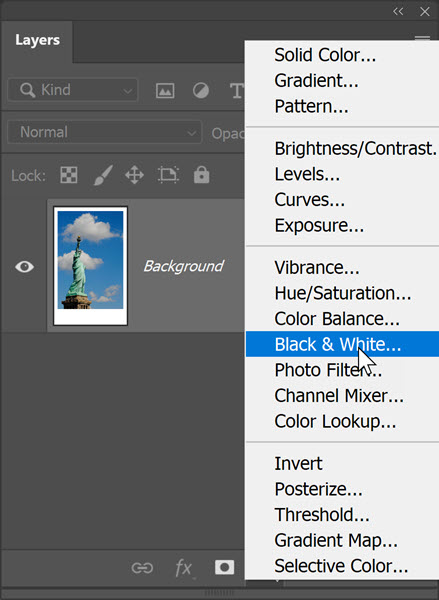
1. In the Layers panel, click on the Add Adjustment Layer icon at the bottom. Choose Black and White from the pop-up menu.
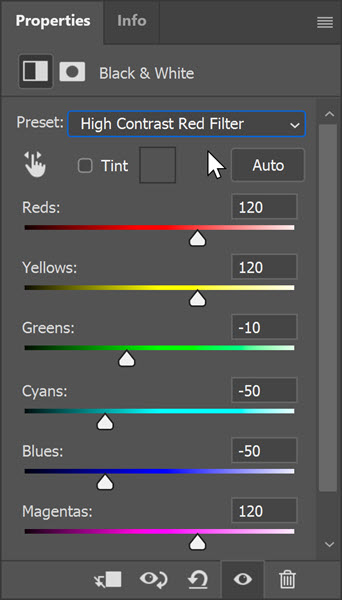
2. The Properties panel will open. From here you can play with lots of sliders to get the black and white look you want. I’m going to take the easy route and choose High Contrast Red Filter from the presets drop-down menu.
I know that this preset will work well with this photo because there is a lovely blue sky with fluffy white clouds in it. Your photo may convert better with a different preset, so try them all out and see which one you like best.
1. Using the Type tool, (T), add some text to the bottom of the canvas.
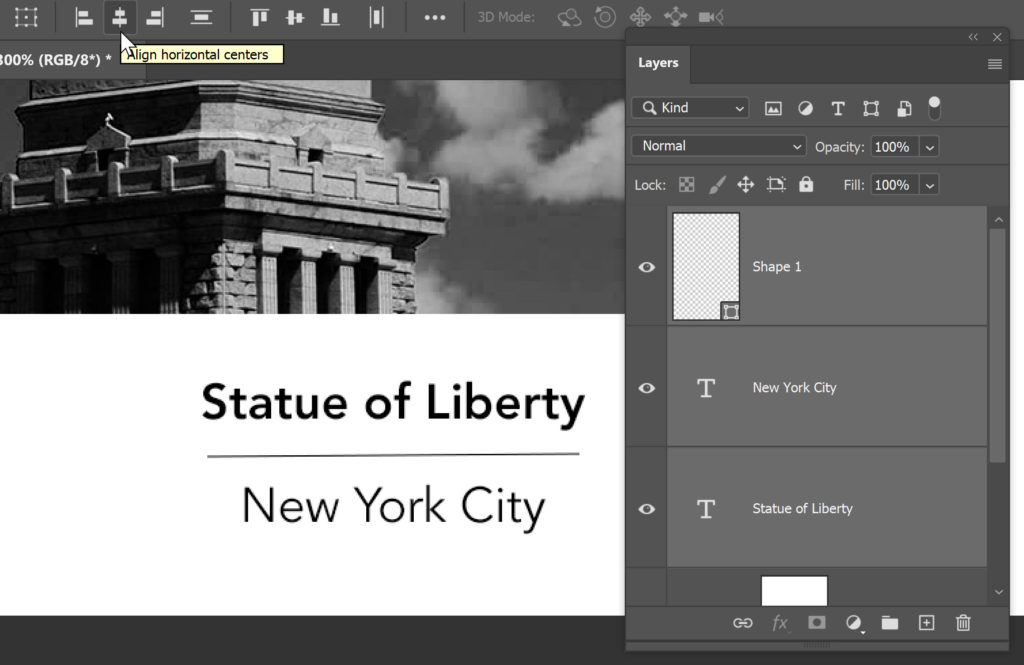
I used Avenir Heavy on the words “Statue of Liberty” and Avenir Book on the words New York City. You can choose any fonts that you like. From a design point of view, I find it works well to use a bold and a lighter weigh font together.
2. For another small design element, add a line between the two pieces of text by using the Line tool (U). The Line tool is hidden under Edit Toolbar button on the toolbar. It looks like three dots.
 3. When you select the Line tool, make sure that Shape is selected on the Options Bar. Set the stroke colour to black and the Weight to 1px.
4. Drag a line under the words Statue of Liberty. You should now have a Shape layer and two new Type layers in the Layers panel. Select all three of these, then click on the Align Vertical Centres on the Options bar. This makes sure that your text and the line you drew are all aligned nicely.
And voila! Below you can the before and after and you know how to add canvas, convert to black and white and create a cool looking poster or postcard.
I hope you found this useful, please share it. Thank you!
Click Here To Download A Free Photoshop 7 Day Trial
Pin this to read later.